Installation & ConfigurationInstallation & ConfigurationInstallation & KonfigurationInstalación & ConfiguraciónInstalação & ConfiguraçãoInstallazione & Configurazioneהתקנה והגדרות
Installing Xcalibur Server (Windows) Installation de Xcalibur Server (Windows) Xcalibur Server installieren (Windows) Instalación de Xcalibur Server (Windows) Instalar o Xcalibur Server (Windows) Installazione di Xcalibur Server (Windows) התקנת Xcalibur Server (Windows)
Part A — Windows Setup Wizard
Run the Xcalibur Server (Local) 4.2.0 installer (.exe). The setup wizard guides you through the following screens:
-
License Agreement — Read the license terms. Select I accept the agreement and click Next.
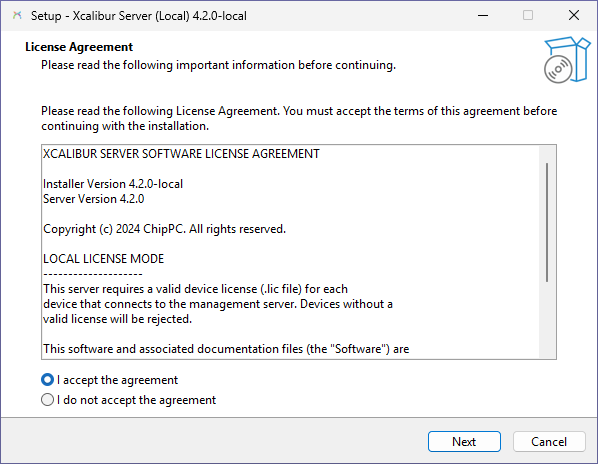 Step 1 — License Agreement
 -
Information — Review the installation summary: version, license mode (LOCAL LICENSE MODE), and default installation path (
C:\CHIPPC\Xcalibur_Global). Click Next.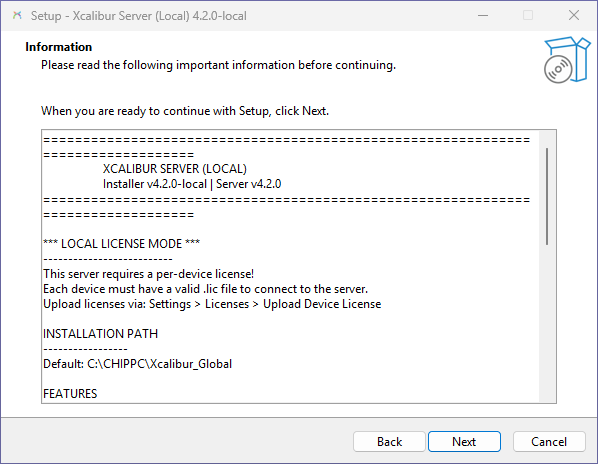 Step 2 — Information
 -
Destination Location — Keep the default folder
C:\CHIPPC\Xcalibur_Globalor click Browse to change it. At least 201 MB of free disk space is required. Click Next.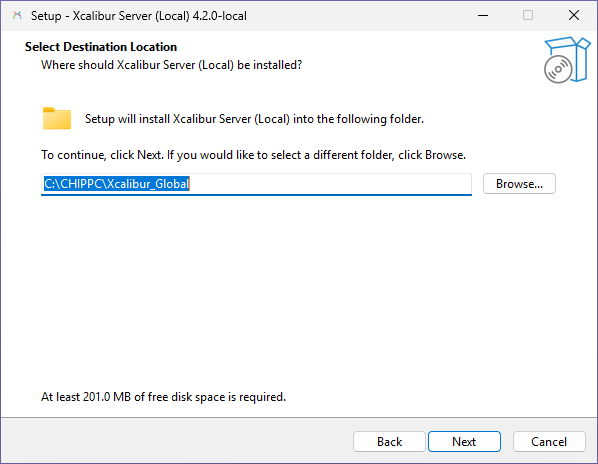 Step 3 — Select Destination Location
 -
Additional Tasks — Optionally create a desktop shortcut. Click Next.
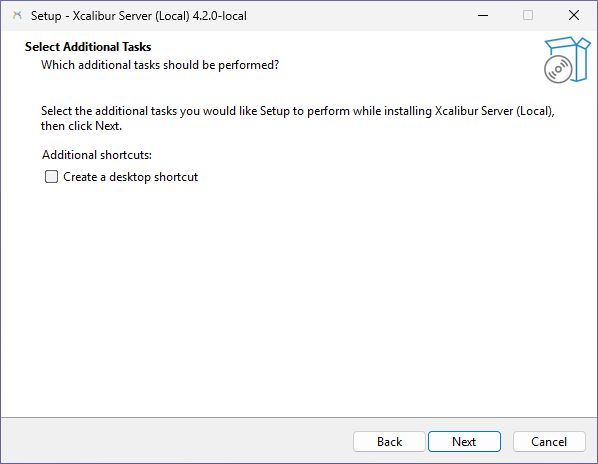 Step 4 — Select Additional Tasks
 -
Ready to Install — Review the summary (destination and tasks). Click Install to begin.
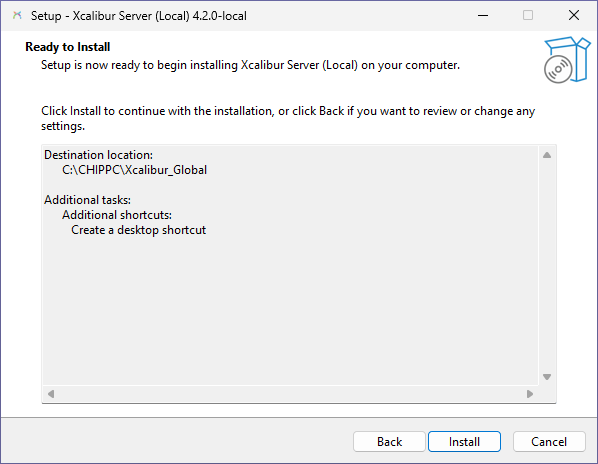 Step 5 — Ready to Install
 -
Finish — Once installation completes, click Finish to exit the wizard.
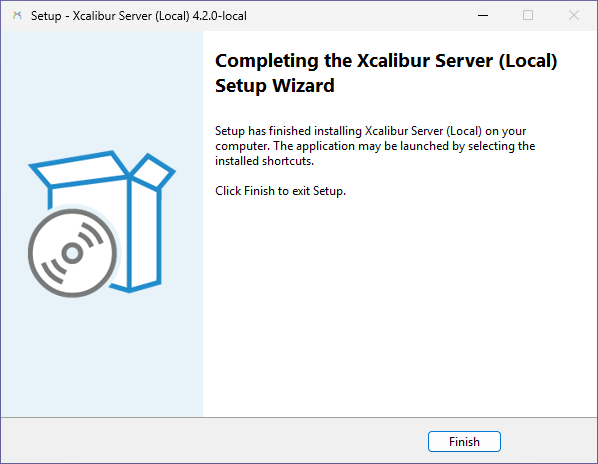 Step 6 — Completing the Setup Wizard
Part B — First Launch
After installation, the Xcalibur Server service starts automatically in the background.
-
Launch the admin interface — Double-click the Xcalibur Server (Local) shortcut on the desktop to open the admin panel in your browser (
https://localhost:1013). Desktop shortcut created by the installer
 -
SSL warning — click Advanced — Chrome (and other browsers) display a "Your connection is not private" warning because the server uses a self-signed certificate. Click Advanced.
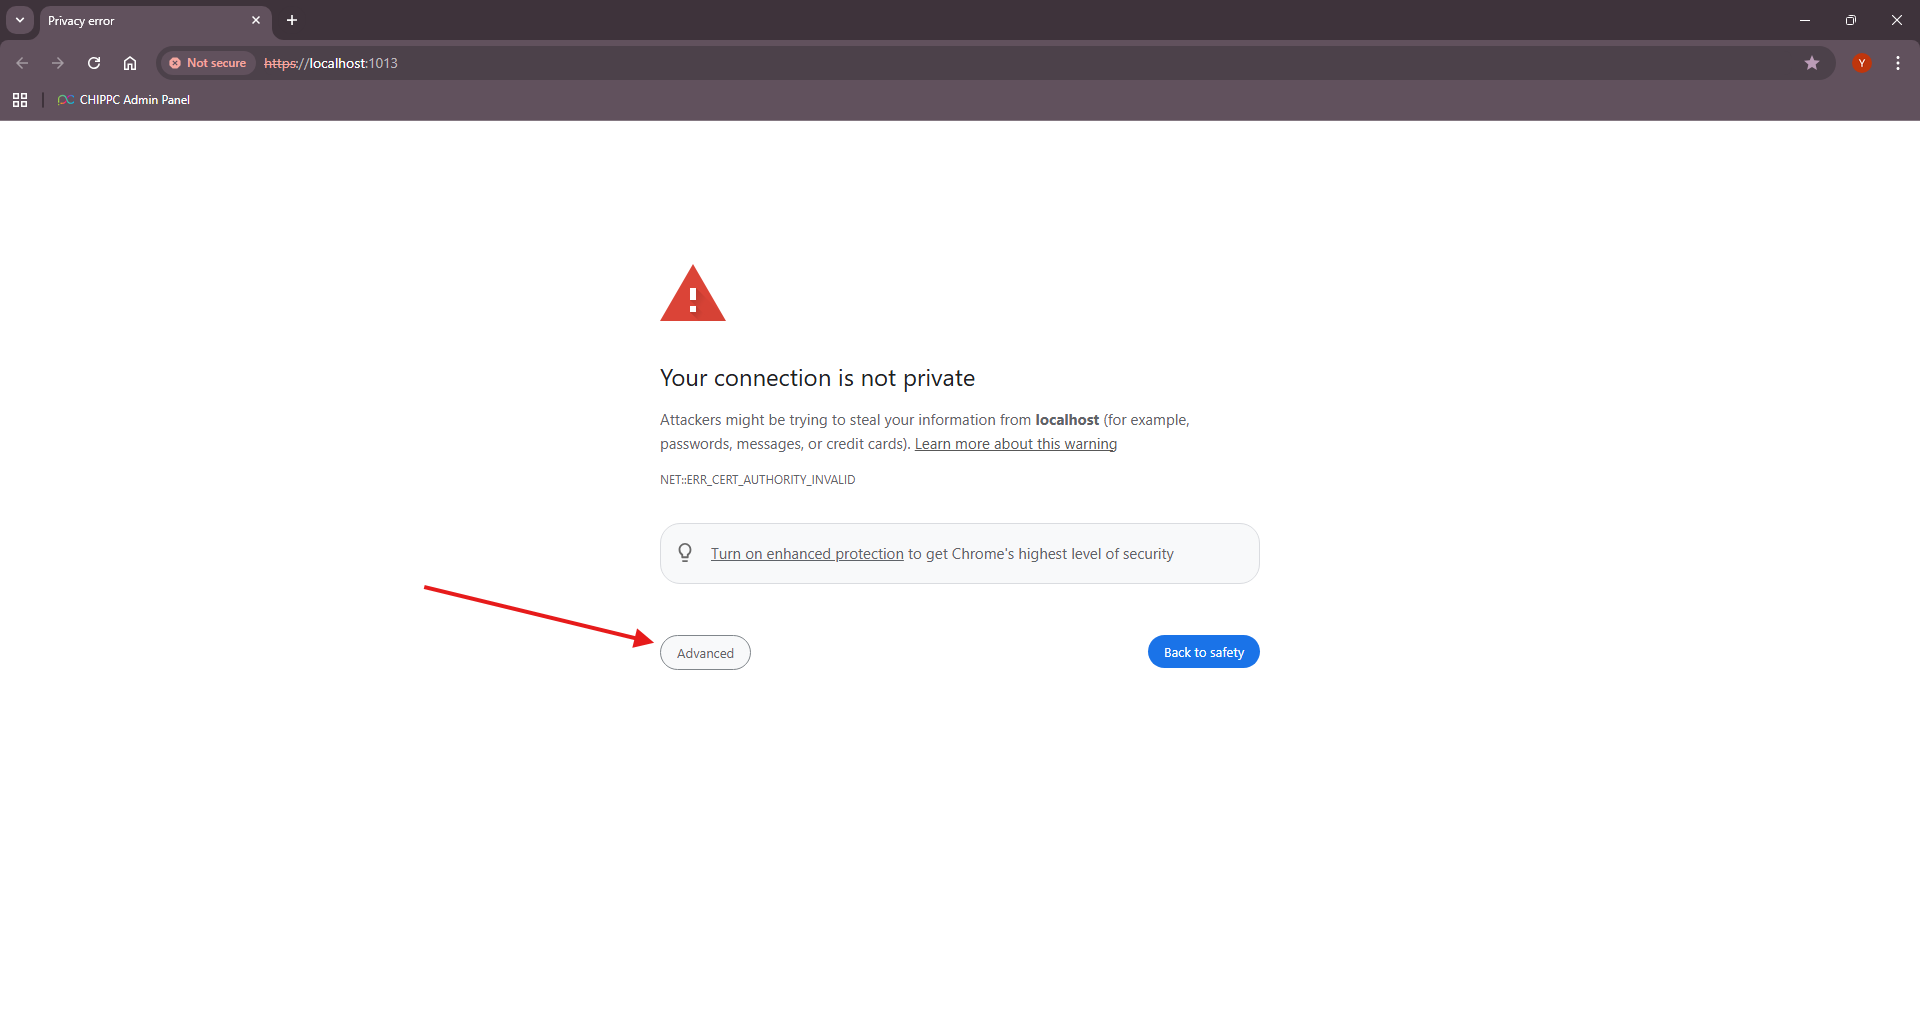 Browser SSL warning — click Advanced
 -
Proceed to localhost — Click Proceed to localhost (unsafe) to continue. This warning only appears once per browser until you install a trusted certificate.
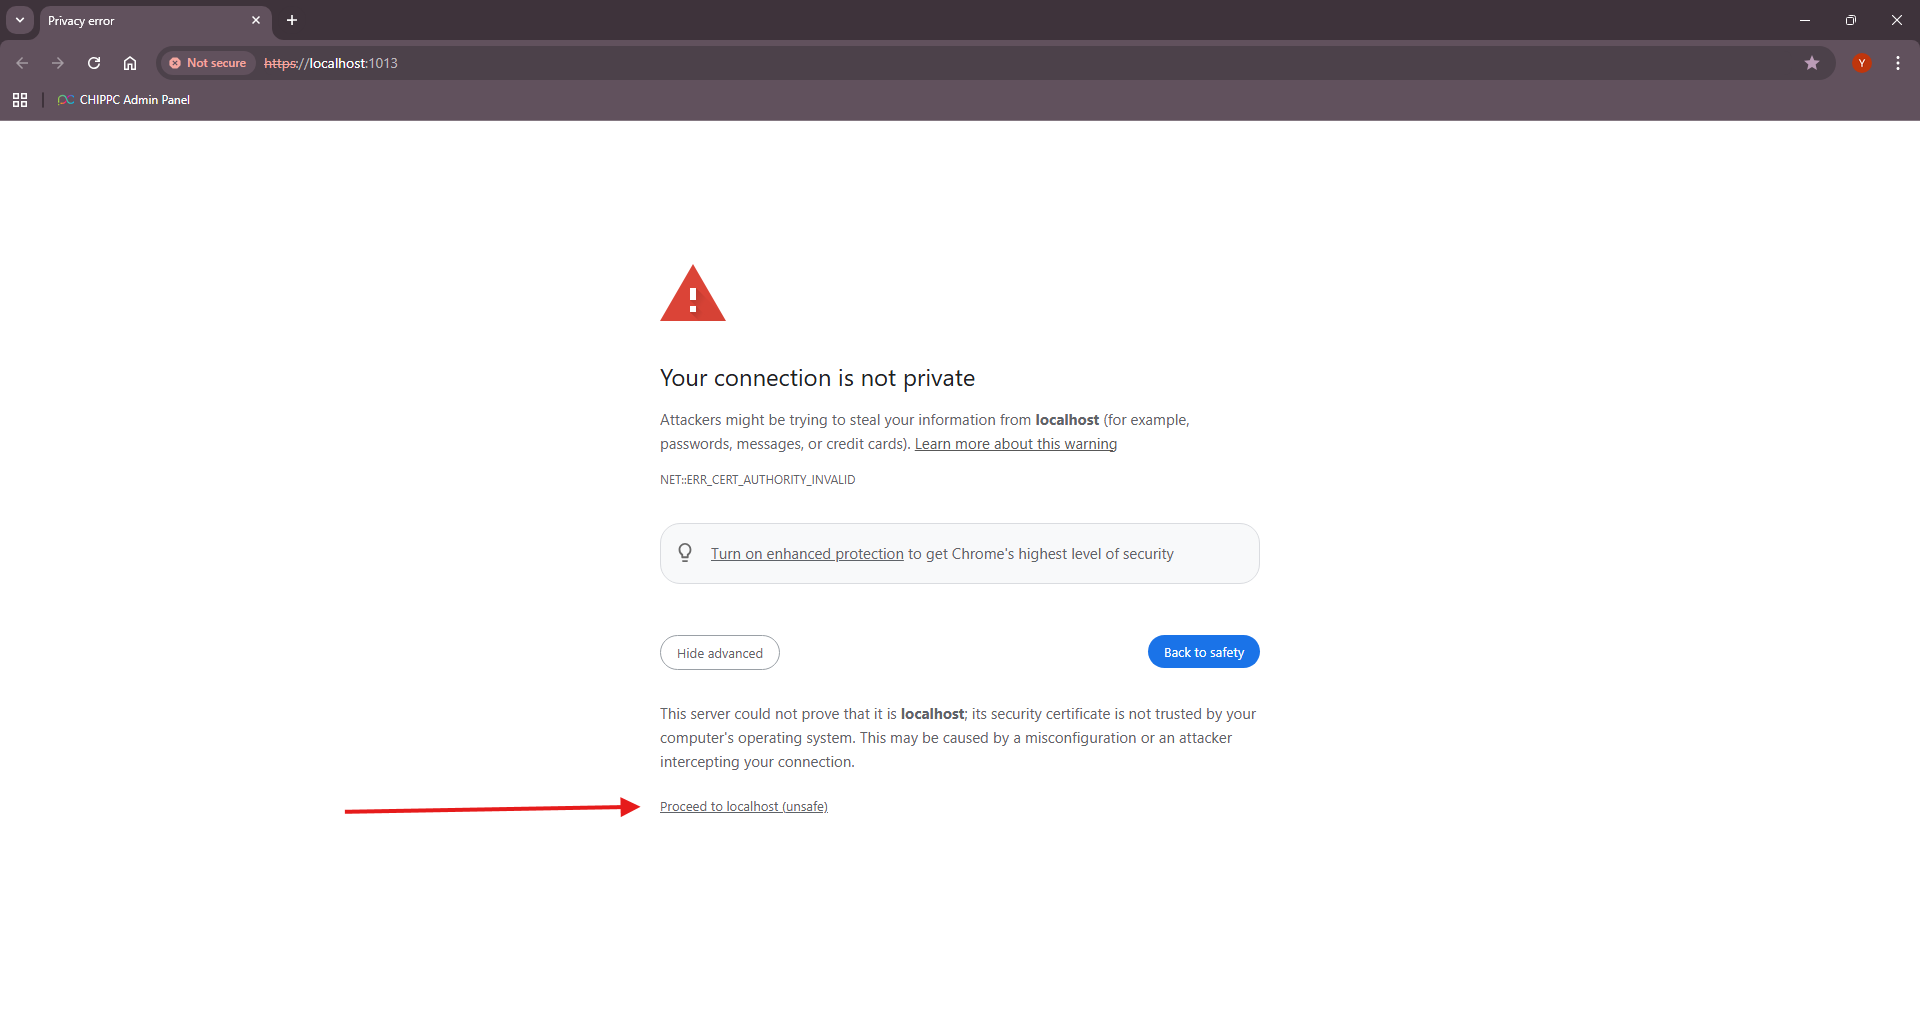 Click "Proceed to localhost (unsafe)"
 -
Login page — The Xcalibur authorization page loads. Enter your admin credentials (default:
admin/admin— change immediately after first login) and click SIGN IN. Xcalibur login page
Part C — Initial Setup Wizard (web)
On first login, the Xcalibur Initial Setup wizard opens automatically. It configures the SSL certificate and the database.
-
SSL/TLS Certificate — Choose between:
- Auto-generate a self-signed certificate — A unique RSA-2048 certificate is generated. Browser warnings will appear until you replace it with a trusted certificate (Server Settings → SSL/TLS).
- Upload your company certificate — PFX/P12 (recommended) or PEM format. Trusted by browsers without warnings.
 Step 1 — SSL/TLS Certificate
 -
Choose Your Database — Three options:
- SQLite (Recommended) — File-based, no installation required, limited to ~100 devices. Ideal for small to medium deployments.
- SQL Server Express (Auto Install) — Professional database with automatic installation. Best for larger deployments (1000+ devices). Requires administrator privileges. Installation can take up to 60 minutes — SQL Express downloads .NET Runtime and other prerequisites automatically if they are not already present on the system.
- SQL Server (Existing/Manual) — Connect to an existing SQL Server instance. Full control over configuration. Manual setup required.
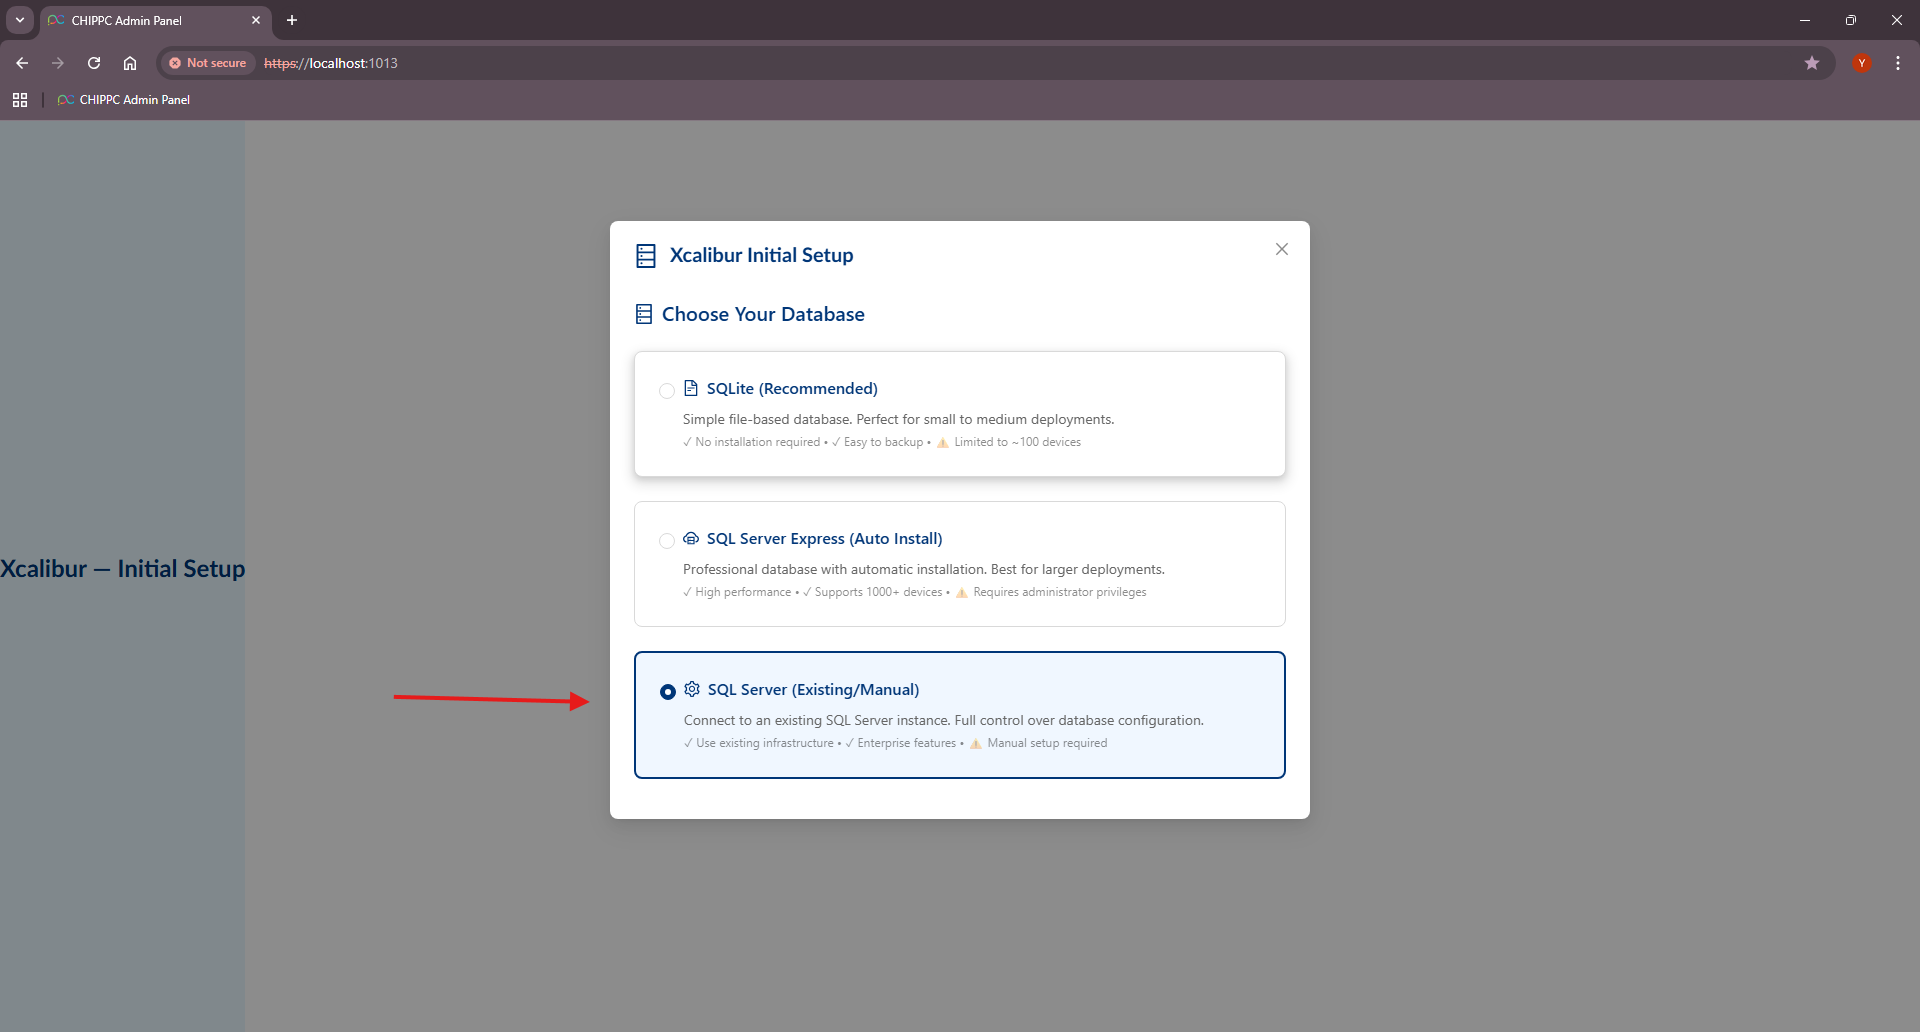 Step 2 — Choose Your Database
 -
Configure Database (SQL Server only) — If you selected SQL Server (Existing/Manual), fill in the connection details: Server Address, Port (default
1433), Instance Name (defaultSQLEXPRESS), Database Name (defaultXcaliburDB), Username, and Password.After filling in the fields, a connection string preview is generated automatically. Click Test Configuration to verify the connection before saving.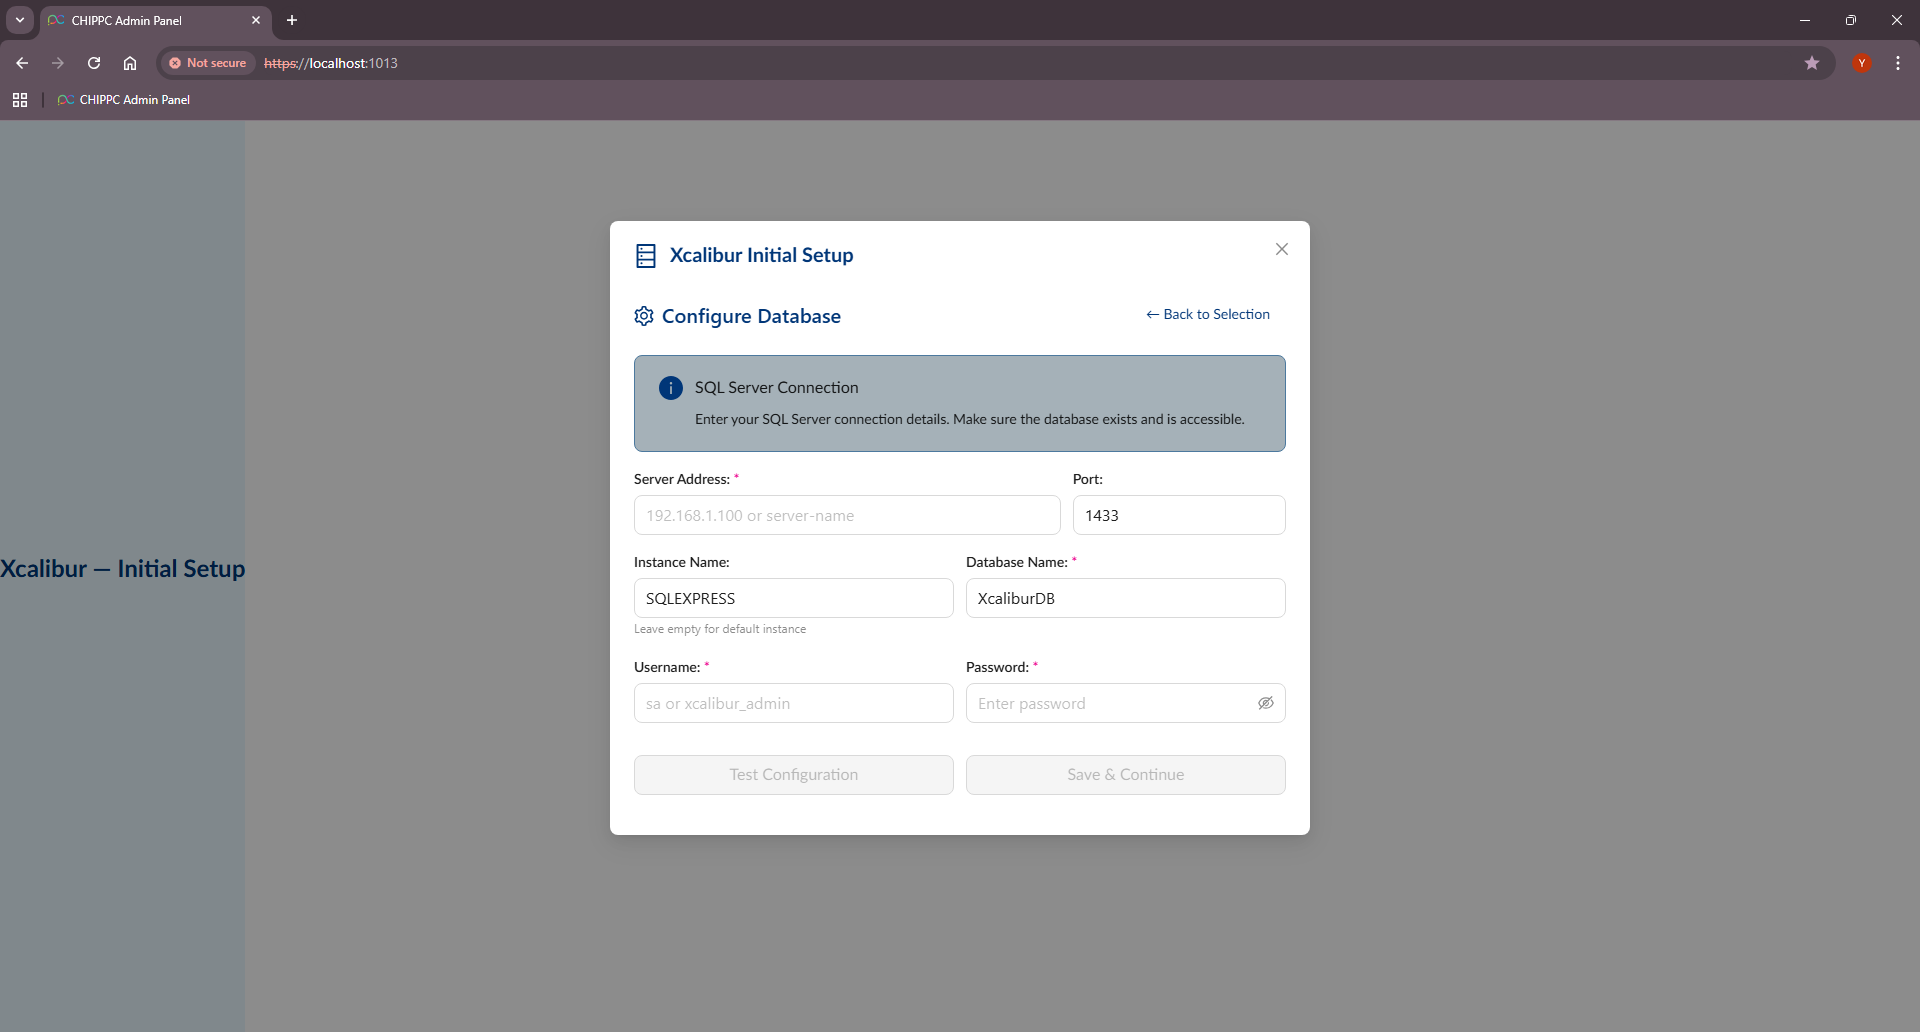 Step 3 — Configure Database (SQL Server connection details)
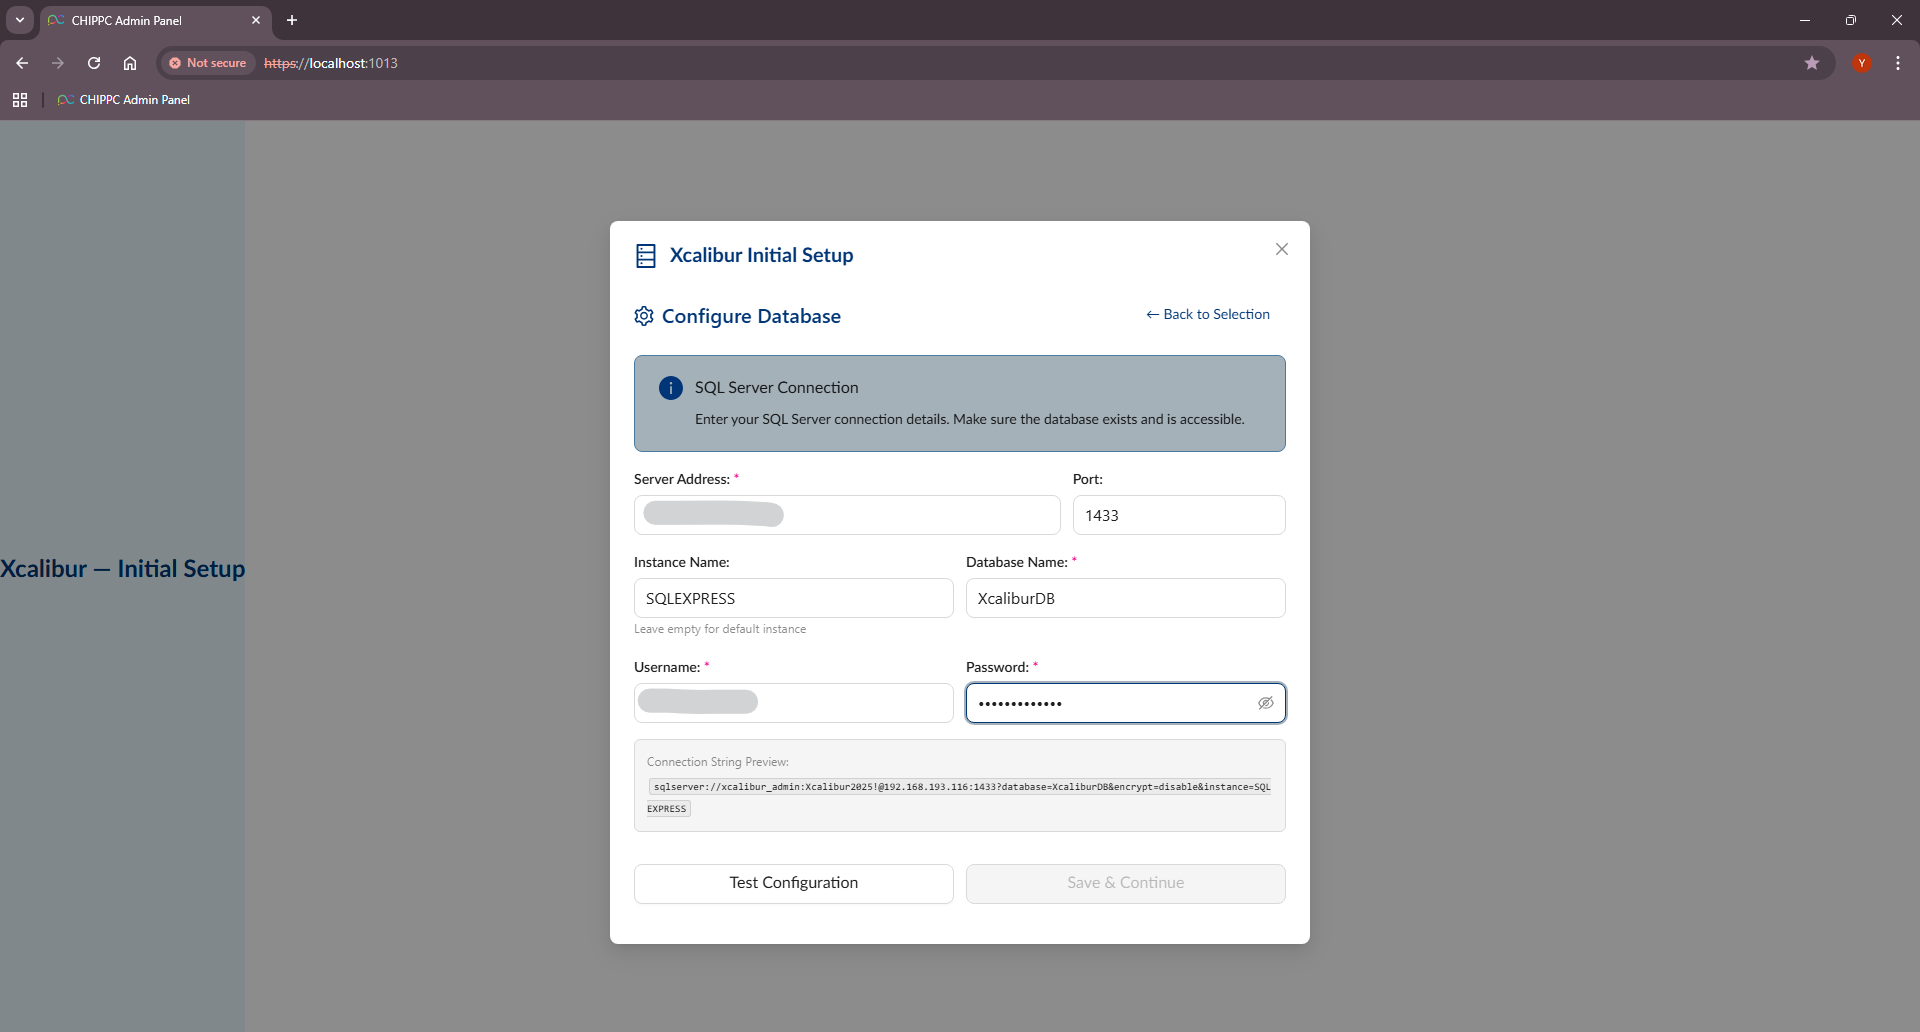 Step 3 — Test the database connection
 -
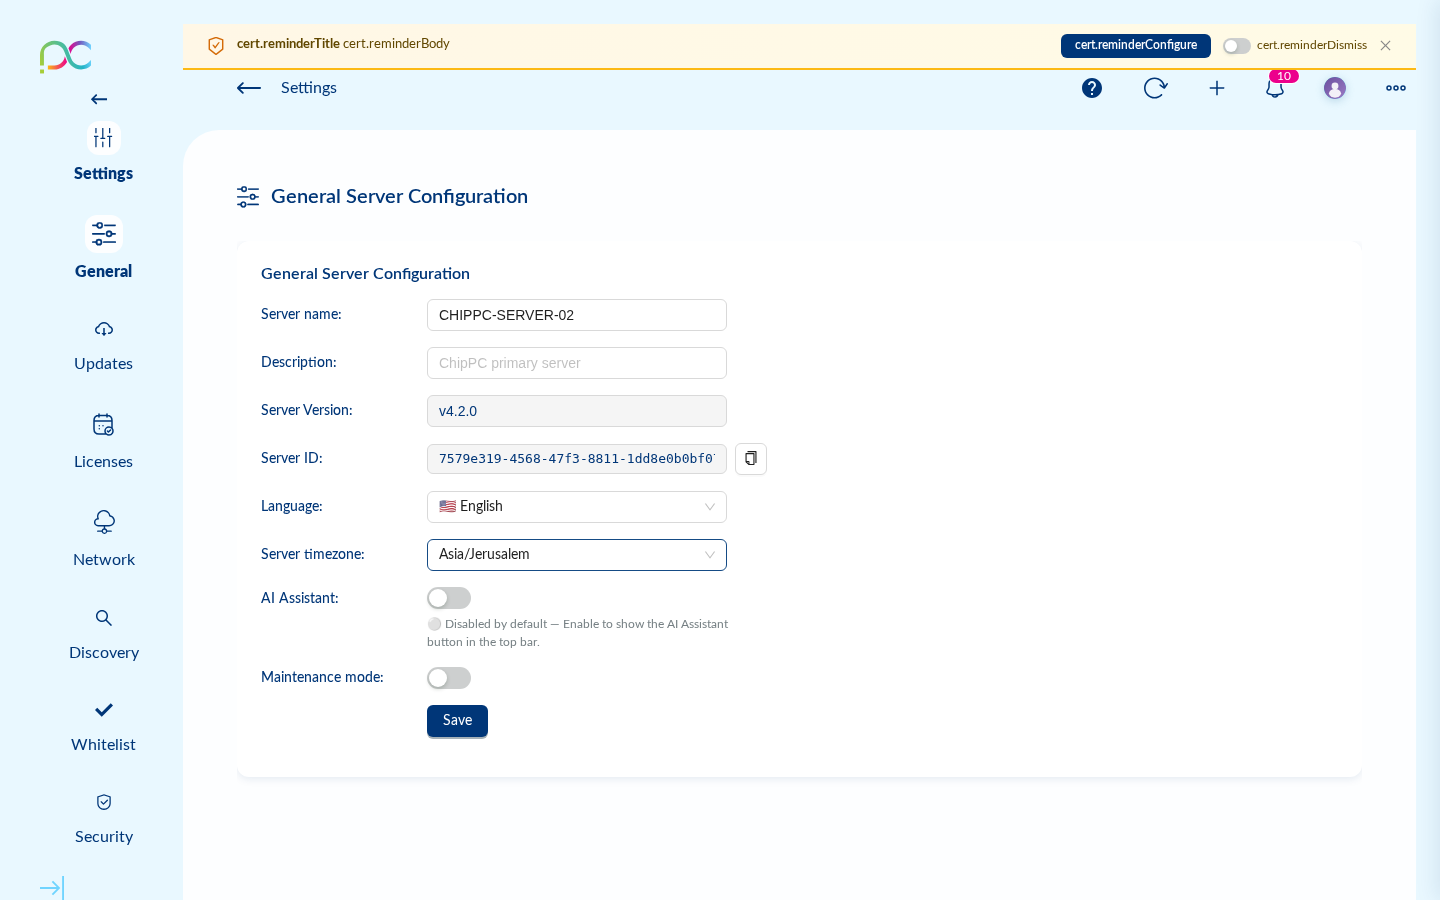
Setup complete — Dashboard — Once the wizard finishes, the Xcalibur Dashboard opens. The system is ready to use.
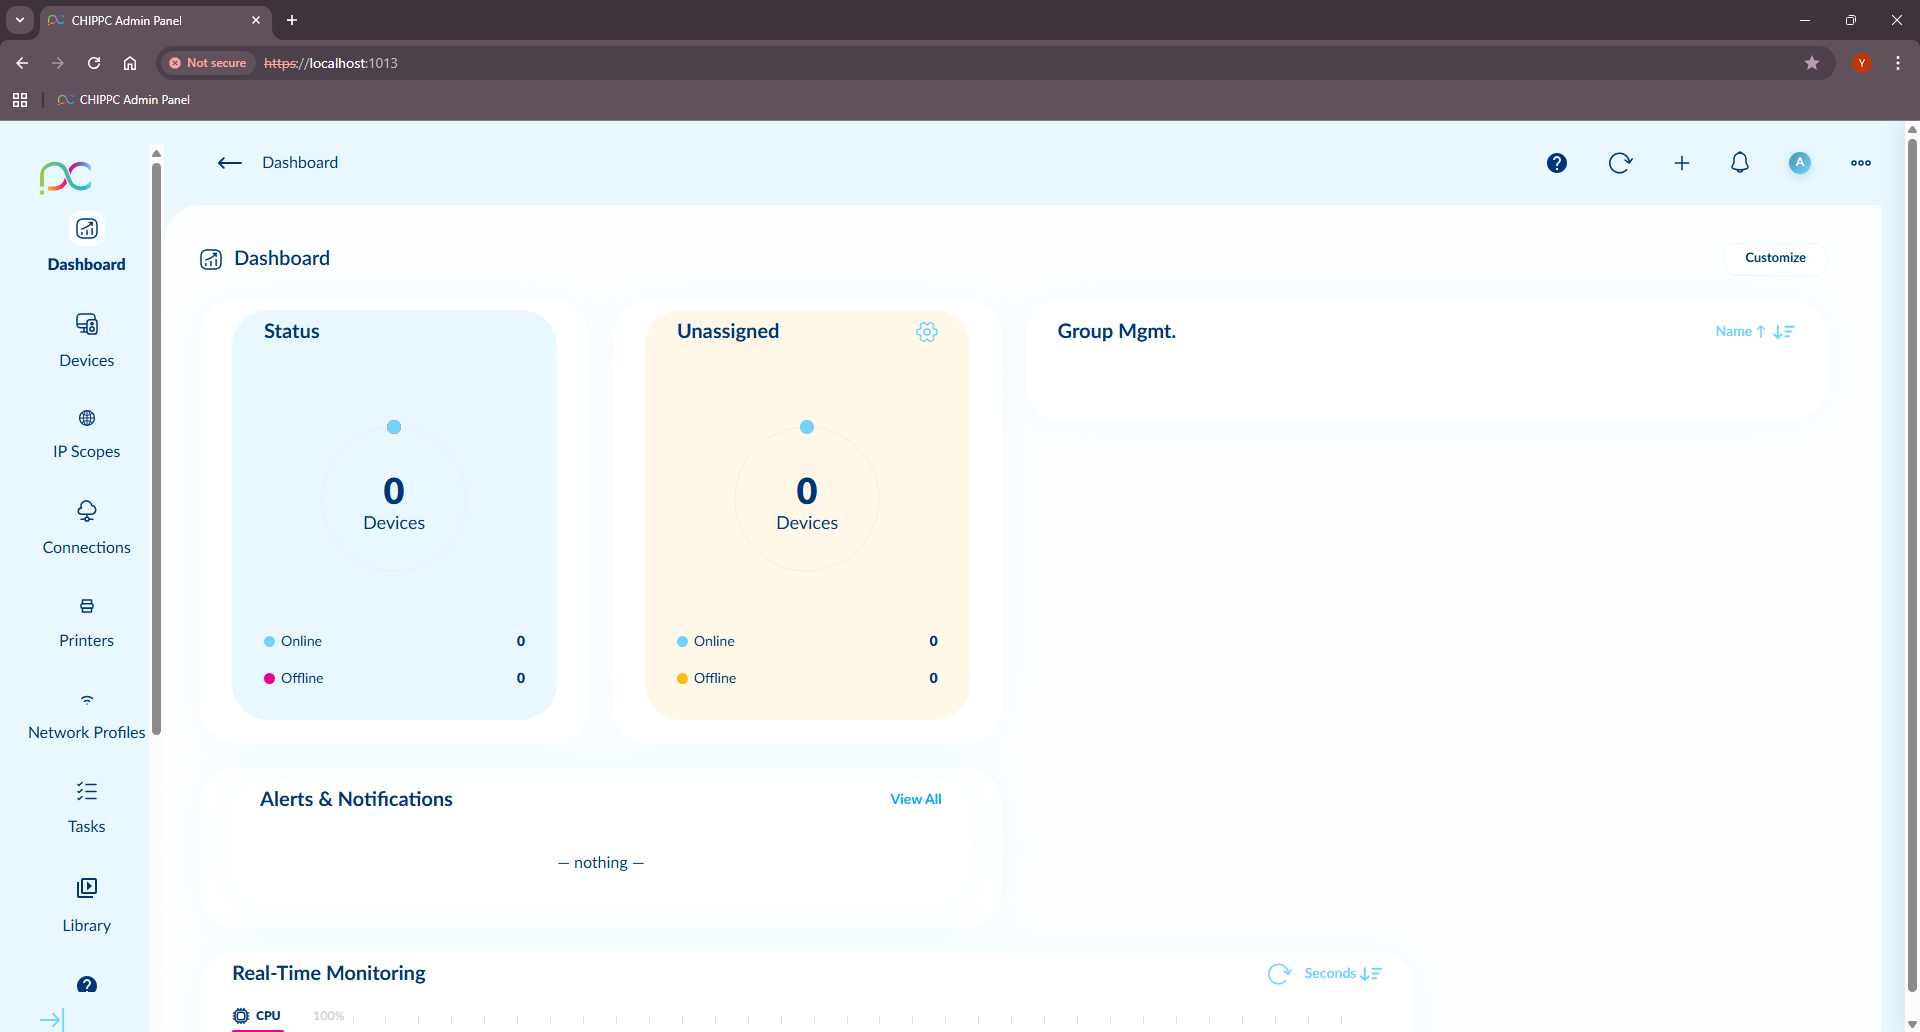 Xcalibur Dashboard — setup complete
Partie A — Assistant d'installation Windows
Lancez l'installateur Xcalibur Server (Local) 4.2.0 (.exe). L'assistant vous guide à travers les étapes suivantes :
-
Accord de licence — Lisez les conditions, cochez I accept the agreement et cliquez sur Next.
Étape 1 — Accord de licence
-
Informations — Vérifiez le résumé : version, mode de licence (LOCAL LICENSE MODE) et chemin par défaut (
C:\CHIPPC\Xcalibur_Global). Cliquez Next.
Étape 2 — Informations -
Dossier de destination — Conservez le dossier par défaut (
C:\CHIPPC\Xcalibur_Global) ou cliquez Browse pour en choisir un autre. Minimum 201 Mo d'espace disque requis. Cliquez Next.
Étape 3 — Dossier de destination -
Tâches supplémentaires — Créez optionnellement un raccourci bureau. Cliquez Next.
Étape 4 — Tâches supplémentaires
-
Prêt à installer — Vérifiez le résumé et cliquez Install.
Étape 5 — Prêt à installer
-
Terminer — Une fois l'installation terminée, cliquez Finish.
Étape 6 — Assistant terminé
Partie B — Premier lancement
Après l'installation, le service Xcalibur Server démarre automatiquement en arrière-plan.
-
Ouvrir l'interface admin — Double-cliquez sur le raccourci Xcalibur Server (Local) sur le bureau pour ouvrir le panneau d'administration dans le navigateur (
https://localhost:1013).
Raccourci bureau créé par l'installateur -
Avertissement SSL — cliquer Avancé — Le navigateur affiche un avertissement SSL car le serveur utilise un certificat auto-signé. Cliquez sur Advanced (Avancé).
Avertissement SSL — cliquer sur Avancé
-
Continuer malgré l'avertissement — Cliquez sur Proceed to localhost (unsafe). Cet avertissement n'apparaît qu'une fois par navigateur tant qu'un certificat de confiance n'est pas installé.
Cliquer sur "Proceed to localhost (unsafe)"
-
Page de connexion — Entrez vos identifiants admin (par défaut :
admin/admin— à modifier immédiatement) et cliquez SIGN IN.
Page de connexion Xcalibur
Partie C — Assistant de configuration initial (web)
Lors de la première connexion, l'assistant Xcalibur Initial Setup s'ouvre automatiquement pour configurer le certificat SSL et la base de données.
-
Certificat SSL/TLS — Choisissez entre :
- Auto-générer un certificat auto-signé — Un certificat RSA-2048 unique est généré. Des avertissements navigateur s'afficheront jusqu'au remplacement par un certificat de confiance (Paramètres Serveur → SSL/TLS).
- Uploader le certificat de votre entreprise — Format PFX/P12 (recommandé) ou PEM. Approuvé par les navigateurs sans avertissement.
Étape 1 — Certificat SSL/TLS -
Choix de la base de données — Trois options :
- SQLite (Recommandé) — Base fichier, aucune installation requise, limitée à ~100 appareils. Idéal pour les petits déploiements.
- SQL Server Express (Installation auto) — Installation automatique, adapté aux grands déploiements (1000+ appareils). Nécessite des droits administrateur. L'installation peut prendre jusqu'à 60 minutes — SQL Express télécharge automatiquement le .NET Runtime et d'autres prérequis s'ils ne sont pas déjà présents.
- SQL Server (Existant/Manuel) — Connexion à une instance SQL Server existante. Configuration manuelle requise.
Étape 2 — Choix de la base de données -
Configurer la base de données (SQL Server uniquement) — Renseignez : adresse du serveur, port (par défaut
1433), nom d'instance (par défautSQLEXPRESS), nom de la base (par défautXcaliburDB), utilisateur et mot de passe.Une fois les champs renseignés, une prévisualisation de la chaîne de connexion s'affiche. Cliquez sur Test Configuration pour vérifier la connexion avant d'enregistrer.
Étape 3 — Paramètres de connexion SQL Server
Étape 3 — Tester la connexion à la base de données -
Configuration terminée — Tableau de bord — Une fois l'assistant terminé, le tableau de bord Xcalibur s'affiche. Le système est prêt à l'utilisation.
Tableau de bord Xcalibur — configuration terminée
Teil A — Windows-Installationsassistent
Starten Sie das Xcalibur Server (Local) 4.2.0-Installationsprogramm (.exe) und folgen Sie den Schritten: Lizenzvereinbarung → Informationen → Zielordner (C:\CHIPPC\Xcalibur_Global) → Zusatzaufgaben → Bereit zur Installation → Fertigstellen.
Teil B — Erster Start
Starten Sie die Admin-Oberfläche über den Desktop-Shortcut (https://localhost:1013). Klicken Sie beim SSL-Hinweis auf Erweitert → Weiter zu localhost, dann melden Sie sich an.
Teil C — Initialer Setup-Assistent (Web)
Beim ersten Login öffnet sich der Assistent automatisch: SSL-Zertifikat wählen, dann Datenbank konfigurieren (SQLite, SQL Server Express oder manuelles SQL Server). Nach dem Abschluss öffnet sich das Dashboard.
Parte A — Asistente de instalación Windows
Ejecute el instalador Xcalibur Server (Local) 4.2.0 (.exe) y siga los pasos: Acuerdo de licencia → Información → Destino (C:\CHIPPC\Xcalibur_Global) → Tareas adicionales → Listo para instalar → Finalizar.
Parte B — Primer lanzamiento
Abra la interfaz de administración mediante el acceso directo del escritorio (https://localhost:1013). Al ver el aviso SSL, haga clic en Avanzado → Continuar a localhost y luego inicie sesión.
Parte C — Asistente de configuración inicial (web)
En el primer inicio de sesión, el asistente se abre automáticamente: elija el certificado SSL y luego configure la base de datos (SQLite, SQL Server Express o SQL Server manual). Al terminar, se abre el Panel de control.
Parte A — Assistente de instalação Windows
Execute o instalador Xcalibur Server (Local) 4.2.0 (.exe) e siga os passos: Acordo de licença → Informações → Destino (C:\CHIPPC\Xcalibur_Global) → Tarefas adicionais → Pronto para instalar → Concluir.
Parte B — Primeiro lançamento
Abra a interface de administração através do atalho no ambiente de trabalho (https://localhost:1013). Ao ver o aviso SSL, clique em Avançado → Prosseguir para localhost e faça login.
Parte C — Assistente de configuração inicial (web)
No primeiro login, o assistente abre automaticamente: escolha o certificado SSL e configure a base de dados (SQLite, SQL Server Express ou SQL Server manual). Após a conclusão, o Dashboard é apresentado.
Parte A — Procedura guidata di installazione Windows
Eseguire il programma di installazione Xcalibur Server (Local) 4.2.0 (.exe) e seguire i passaggi: Contratto di licenza → Informazioni → Destinazione (C:\CHIPPC\Xcalibur_Global) → Attività aggiuntive → Pronto per l'installazione → Fine.
Parte B — Primo avvio
Aprire l'interfaccia di amministrazione tramite il collegamento sul desktop (https://localhost:1013). In caso di avviso SSL, fare clic su Avanzate → Procedi su localhost e accedere.
Parte C — Configurazione guidata iniziale (web)
Al primo accesso, la procedura guidata si apre automaticamente: scegliere il certificato SSL, quindi configurare il database (SQLite, SQL Server Express o SQL Server manuale). Al termine si apre il Dashboard.
חלק א' — אשף ההתקנה של Windows
הפעל את תוכנית ההתקנה Xcalibur Server (Local) 4.2.0 (.exe) ועקוב אחר השלבים: הסכם רישיון ← מידע ← תיקיית יעד (C:\CHIPPC\Xcalibur_Global) ← משימות נוספות ← מוכן להתקנה ← סיום.
חלק ב' — הפעלה ראשונה
פתח את ממשק הניהול דרך קיצור הדרך בשולחן העבודה (https://localhost:1013). בהתראת SSL, לחץ על Advanced ← Proceed to localhost ואז התחבר.
חלק ג' — אשף ההגדרה הראשונית (אינטרנט)
בכניסה הראשונה, האשף נפתח אוטומטית: בחר אישור SSL ולאחר מכן הגדר את מסד הנתונים (SQLite, SQL Server Express או SQL Server ידני). בסיום, לוח המחוונים נפתח.
Network Ports to Open Ports réseau à ouvrir Zu öffnende Netzwerkports Puertos de red a abrir Portas de rede a abrir Porte di rete da aprire פורטי רשת לפתיחה
| Port | Protocol | Usage | Usage | Verwendung | Uso | Utilização | Utilizzo | שימוש | Direction | Direction | Richtung | Dirección | Direção | Direzione | כיוון |
|---|---|---|---|---|---|---|---|---|---|---|---|---|---|---|---|
1011 | TCP / HTTP | Admin web interface (HTTP) | Interface web admin (HTTP) | Admin-Weboberfläche (HTTP) | Interfaz web admin (HTTP) | Interface web admin (HTTP) | Interfaccia web admin (HTTP) | ממשק ניהול אינטרנטי (HTTP) | Inbound → Server | Entrant → Serveur | Eingehend → Server | Entrante → Servidor | Entrada → Servidor | In entrata → Server | נכנס → שרת |
1013 | TCP / HTTPS | Admin web interface (HTTPS) + VNC WebSocket proxy | Interface web admin (HTTPS) + proxy WebSocket VNC | Admin-Weboberfläche (HTTPS) + VNC-WebSocket-Proxy | Interfaz web admin (HTTPS) + proxy WebSocket VNC | Interface web admin (HTTPS) + proxy WebSocket VNC | Interfaccia web admin (HTTPS) + proxy WebSocket VNC | ממשק ניהול אינטרנטי (HTTPS) + proxy WebSocket VNC | Inbound → Server | Entrant → Serveur | Eingehend → Server | Entrante → Servidor | Entrada → Servidor | In entrata → Server | נכנס → שרת |
1012 | TCP / TLS | Persistent encrypted channel — Agents ↔ Server | Canal chiffré persistant — Agents ↔ Serveur | Persistenter verschlüsselter Kanal — Agenten ↔ Server | Canal cifrado persistente — Agentes ↔ Servidor | Canal cifrado persistente — Agentes ↔ Servidor | Canale cifrato persistente — Agenti ↔ Server | ערוץ מוצפן מתמיד — Agents ↔ שרת | Inbound → Server | Entrant → Serveur | Eingehend → Server | Entrante → Servidor | Entrada → Servidor | In entrata → Server | נכנס → שרת |
389 / 636 | TCP / LDAP(S) | Active Directory / LDAP sync (optional) | Synchronisation Active Directory / LDAP (optionnel) | Active Directory / LDAP-Synchronisation (optional) | Sincronización Active Directory / LDAP (opcional) | Sincronização Active Directory / LDAP (opcional) | Sincronizzazione Active Directory / LDAP (opzionale) | סנכרון Active Directory / LDAP (אופציונלי) | Server → AD | Serveur → AD | Server → AD | Servidor → AD | Servidor → AD | Server → AD | שרת → AD |
25 / 465 / 587 | TCP / SMTP | Email notifications (optional) | Notifications e-mail (optionnel) | E-Mail-Benachrichtigungen (optional) | Notificaciones por correo electrónico (opcional) | Notificações por e-mail (opcional) | Notifiche e-mail (opzionale) | התראות דואר אלקטרוני (אופציונלי) | Server → SMTP | Serveur → SMTP | Server → SMTP | Servidor → SMTP | Servidor → SMTP | Server → SMTP | שרת → SMTP |
1433 | TCP | Microsoft SQL Server (if MSSQL driver used) | Microsoft SQL Server (si pilote MSSQL utilisé) | Microsoft SQL Server (falls MSSQL-Treiber verwendet) | Microsoft SQL Server (si se usa controlador MSSQL) | Microsoft SQL Server (se driver MSSQL utilizado) | Microsoft SQL Server (se driver MSSQL utilizzato) | Microsoft SQL Server (אם נעשה שימוש ב-MSSQL driver) | Server → SQL | Serveur → SQL | Server → SQL | Servidor → SQL | Servidor → SQL | Server → SQL | שרת → SQL |
SSL / TLS Configuration Configuration SSL / TLS SSL / TLS-Konfiguration Configuración SSL / TLS Configuração SSL / TLS Configurazione SSL / TLS הגדרת SSL / TLS
Xcalibur automatically generates a self-signed certificate on first start. A reminder banner appears in the admin UI until a valid certificate is installed.
Supported certificate formats
- PEM — Standard format:
.crt+.keyfiles - PFX / PKCS#12 — Single
.pfxfile (auto-converted to PEM by the server) - Let's Encrypt — Compatible; renew and re-upload manually
Upload procedure
- Go to Server Settings → SSL
- Upload your
.crt+.key(PEM) or.pfx(PFX) file - If PFX, enter the password when prompted
- Click Apply — the server reloads the certificate without restart
Xcalibur génère automatiquement un certificat auto-signé au premier démarrage. Une bannière de rappel s'affiche dans l'interface admin jusqu'à l'installation d'un certificat valide.
Formats de certificats supportés
- PEM — Format standard : fichiers
.crt+.key - PFX / PKCS#12 — Fichier
.pfxunique (converti automatiquement en PEM par le serveur) - Let's Encrypt — Compatible ; renouveler et ré-uploader manuellement
Procédure d'upload
- Aller dans Paramètres Serveur → SSL
- Uploader votre fichier
.crt+.key(PEM) ou.pfx(PFX) - Si PFX, entrer le mot de passe lorsqu'il est demandé
- Cliquer sur Appliquer — le serveur recharge le certificat sans redémarrage
Xcalibur generiert beim ersten Start automatisch ein selbstsigniertes Zertifikat. Ein Erinnerungs-Banner wird in der Admin-UI angezeigt, bis ein gültiges Zertifikat installiert ist.
Unterstützte Zertifikatsformate
- PEM — Standardformat:
.crt+.keyDateien - PFX / PKCS#12 — Einzelne
.pfxDatei (automatisch in PEM konvertiert) - Let's Encrypt — Kompatibel; manuell erneuern und hochladen
Xcalibur genera automáticamente un certificado autofirmado en el primer inicio. Se muestra un banner de recordatorio en la interfaz de administración hasta que se instale un certificado válido.
Formatos de certificado compatibles
- PEM — Formato estándar: archivos
.crt+.key - PFX / PKCS#12 — Archivo
.pfxúnico (convertido automáticamente a PEM) - Let's Encrypt — Compatible; renovar y volver a cargar manualmente
O Xcalibur gera automaticamente um certificado autoassinado no primeiro arranque. Um banner de lembrete aparece na UI de administração até que um certificado válido seja instalado.
Xcalibur genera automaticamente un certificato autofirmato al primo avvio. Viene visualizzato un banner di promemoria nell'interfaccia di amministrazione fino all'installazione di un certificato valido.
Xcalibur מייצר אוטומטית אישור SSL חתום עצמית בהפעלה הראשונה. באנר תזכורת מוצג בממשק הניהול עד להתקנת אישור תקף.
פורמטים נתמכים של אישורים
- PEM — פורמט סטנדרטי: קבצי
.crt+.key - PFX / PKCS#12 — קובץ
.pfxיחיד (ממיר אוטומטית ל-PEM על ידי השרת) - Let's Encrypt — תואם; חדש והעלה מחדש ידנית
נוהל העלאה
- עבור אל Server Settings → SSL
- העלה את קבצי
.crt+.key(PEM) או.pfx(PFX) - אם PFX, הזן את הסיסמה כשתתבקש
- לחץ על Apply — השרת טוען מחדש את האישור ללא אתחול
Database Configuration Configuration de la base de données Datenbankkonfiguration Configuración de base de datos Configuração da base de dados Configurazione del database הגדרת מסד הנתונים
| Driver | Pilote | Treiber | Controlador | Driver | Driver | Driver | Use case | Cas d'usage | Anwendungsfall | Caso de uso | Caso de uso | Caso d'uso | מקרה שימוש | Limit | Limite | Limit | Límite | Limite | Limite | מגבלה |
|---|---|---|---|---|---|---|---|---|---|---|---|---|---|---|---|---|---|---|---|---|
| SQLite default | Small deployments, PoC, up to ~500 devices | Petits déploiements, PoC, jusqu'à ~500 appareils | Kleine Deployments, PoC, bis ~500 Geräte | Despliegues pequeños, PoC, hasta ~500 dispositivos | Implantações pequenas, PoC, até ~500 dispositivos | Distribuzioni piccole, PoC, fino a ~500 dispositivi | פריסות קטנות, PoC, עד ~500 מכשירים | No clustering, single file data/db.sqlite3 |
Pas de clustering, fichier unique | Kein Clustering, einzelne Datei | Sin clustering, archivo único | Sem clustering, ficheiro único | Nessun clustering, file singolo | ללא clustering, קובץ יחיד data/db.sqlite3 |
||||||
| MSSQL Enterprise | Large deployments, 500+ devices, HA | Grands déploiements, 500+ appareils, HA | Große Deployments, 500+ Geräte, HA | Despliegues grandes, 500+ dispositivos, HA | Implantações grandes, 500+ dispositivos, HA | Grandi distribuzioni, 500+ dispositivi, HA | פריסות גדולות, 500+ מכשירים, HA | Requires SQL Server 2016+ or SQL Express | Nécessite SQL Server 2016+ ou SQL Express | Erfordert SQL Server 2016+ oder SQL Express | Requiere SQL Server 2016+ o SQL Express | Requer SQL Server 2016+ ou SQL Express | Richiede SQL Server 2016+ o SQL Express | מצריך SQL Server 2016+ או SQL Express |
sqlserver://USER:PASSWORD@HOST:1433?database=XcaliburDB&encrypt=disable&instance=SQLEXPRESS