Table of Contents
SSL Certificate
Using an SSL certificate allows secure communication between Xcalibur W server and the remote devices.
Generate and Install the Certificate
SSL certificates can be self-signed (generated by IIS) or delivered by a certification authority.
Self-Signed Certificate, Generated by IIS
1. Open the IIS management console and navigate to the level you wish to manage.
2. Double-click Server Certificates.
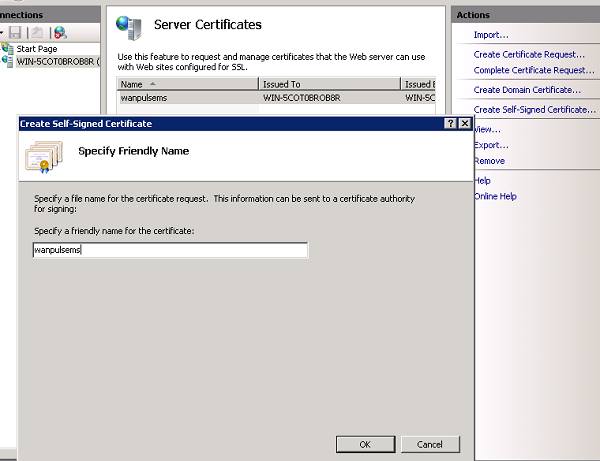
3. In the Actions zone, click Create a self-signed certificate.
4. On the Create a self-signed certificate page, type a friendly name for the certificate in the Specify a friendly name for the certificate field and then click OK.
Caution : Self-signed certificates provide an average level of security. Additionally, these certificates are only valid for one year if they are created by IIS.
Certificate Delivered by a Certification Authority
1. Open the IIS management console and navigate to the level you wish to manage.
2. Double-click Server certificates.
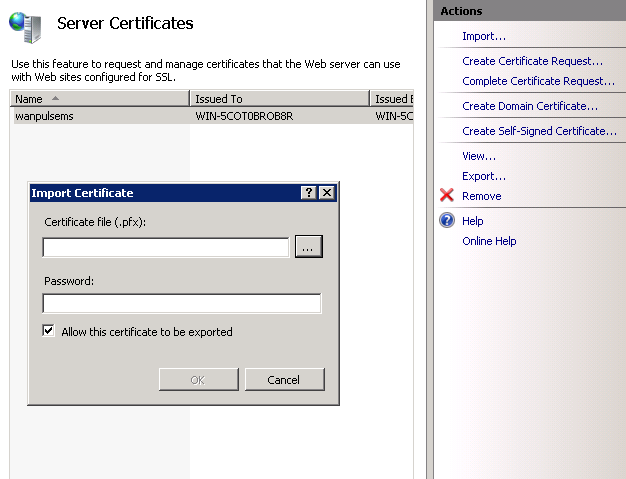
3. In the Actions zone, click Import.
4. In the Import a certificate zone:
- Type a file name in the File certificate field, or click Browse and navigate to the certificate file.
- If necessary, enter the password in the Password field.
- Tick the Allow this certificate to be exported box.
5. Click OK.
Integration with Xcalibur W
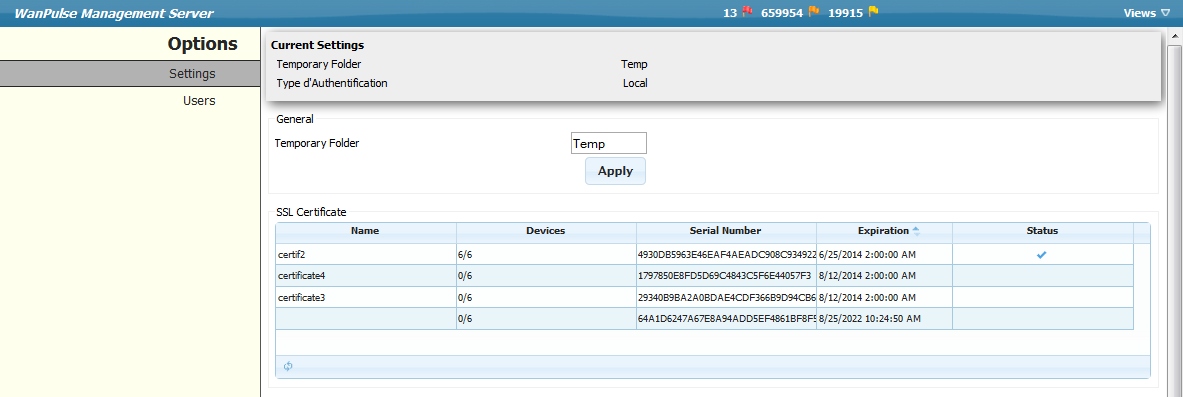
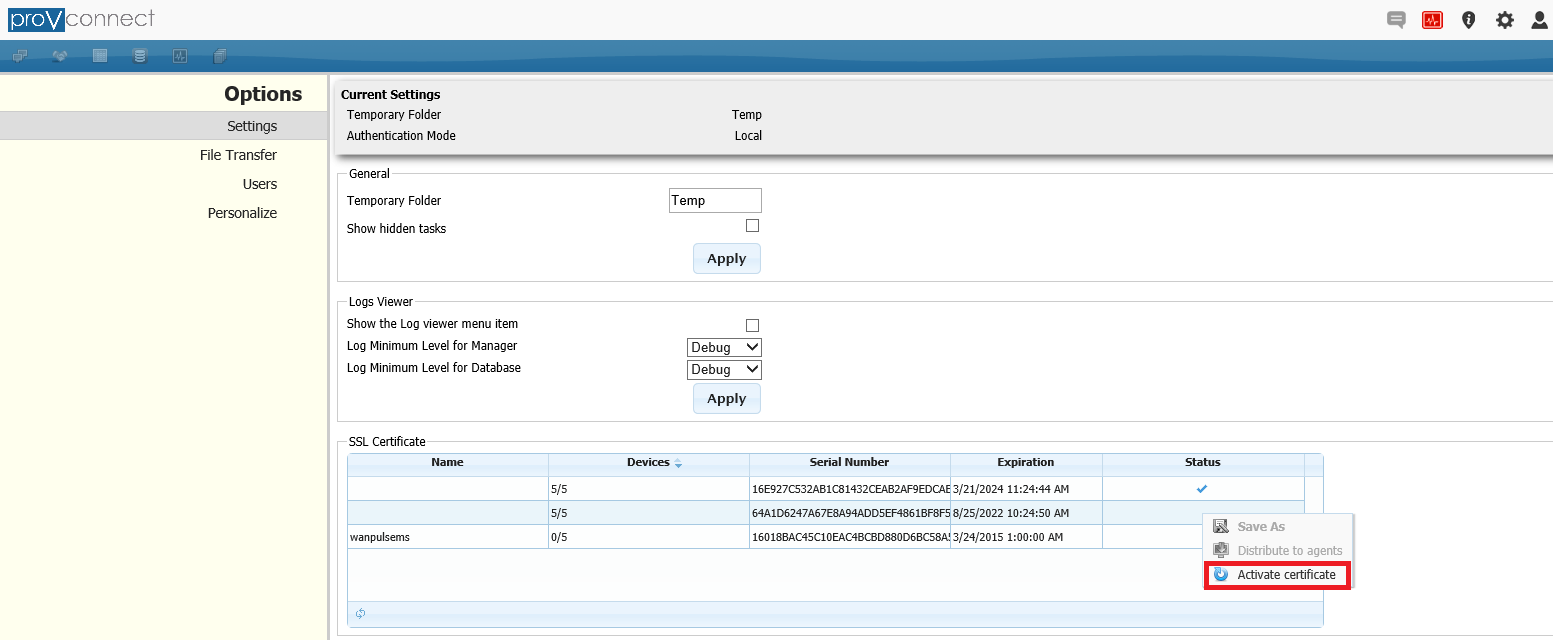
The Settings page (Views > Manager Options > Settings) is where administrators select the IIS SSL Certificate to be used to secure communication between agents and server. Each certificate available on the IIS server is shown as a separate entry within the SSL certificate table, as shown below. The certificate marked Active ( ) is the one currently in use on the server.
Refer to the Manager Options section to get more details on changing SSL certificate.


